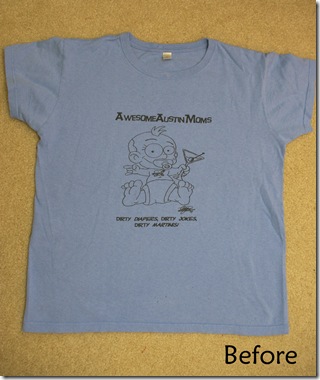
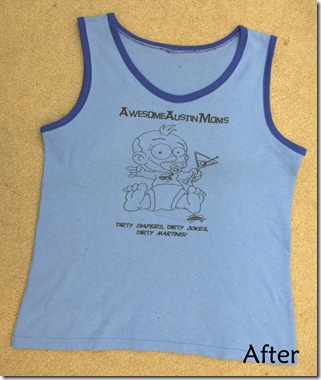
Supplies:
- T-shirt that doesn’t fit right
- Tank top that DOES fit right, to use as a pattern
- Contrast ribbed knit and thread to match
- Scissors, rotary cutter and mat (if you have one), sewing machine, serger (not necessary)
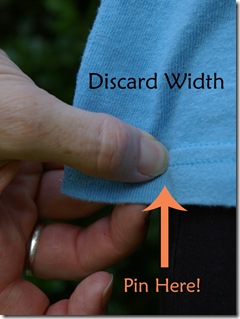
Before you cut into your T-shirt put it on and note how it fits at the bottom hem. If you like how the width is then you can just go to the next step. Otherwise, pinch off the amount that you want to tighten it and pin at the pinch. Measure the distance from the pin to the fold (side seam) and divide that number by 2. Record this number as the “discard width.”
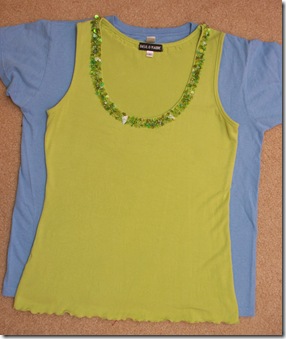
Lay your T-shirt out on a flat surface that you don’t mind cutting on. Make sure it’s laying completely even, with the design centered, etc. Go ahead and cut the side seams open, as well. This will allow the shirt to lay as flat as possible. Lay the tank on top of the t-shirt, lining up the shoulder seams and centering the tank over the t-shirt evenly.
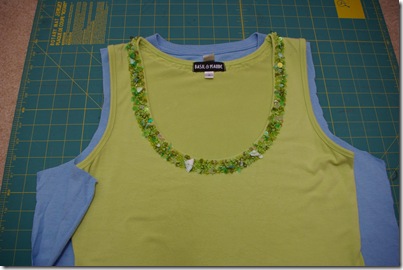
Cut the armholes first. There will be no seam taken, so wherever you cut will be the actual finished edge (bound in ribbing, of course). I cut 1/2” bigger than my tank, to allow for the lack of stretch in the t-shirt. 1/2” is an arbitrary number and can be changed to fit your situation.
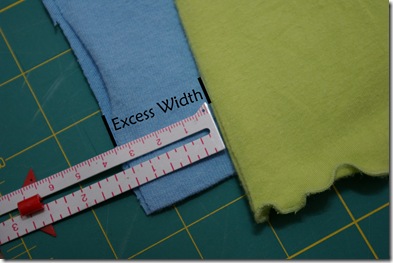
IMPORTANT STEP: Fitting the shirt. My tank had a nice hourglass shape, but my t-shirt was a box, so I used the shape of the tank as a guide. Determine how much smaller the t-shirt needs to be by using the discard width we found in the first step. More than likely, your t-shirt and tank hem widths (the area around your hips) are going to be pretty close to each other, but the waist and bust areas on the t-shirt are going to be tons bigger.
So, with the tank still laying centered on the t-shirt, measure the distance from the edge of the tank hem to the edge of the t-shirt hem. This number, “excess width,” should be the same on both sides. Subtract the discard width from the excess width to get the gauge width.
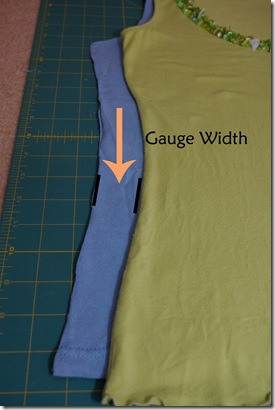
Set your seam gauge to the gauge width and cut this width all the way up the side, with the gauge against the edge of the tank, following the contour of the tank. If you were happy with the t-shirt hem width originally then set your gauge to the excess width and use it to cut your side (this will just shape the t-shirt without taking any additional width away).
The last bit of cutting is the neckline. The back neck is pretty straight forward. But the front neckline on my tank was pretty low, so I opted to raise it a bit. To get an idea of the shape, simply push some pins through both shirts following the tank neckline. Then peel back the tank and, using some sort of marking utensil, make a mark where each pin enters the t-shirt.
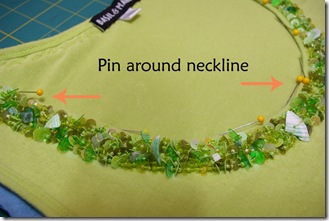
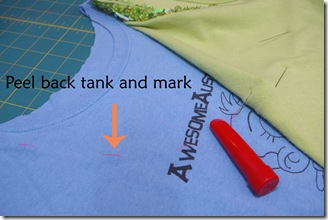
After the line is drawn, use the shape as a guide to draw your ideal neckline, or if the neckline is perfect, cut along the line.
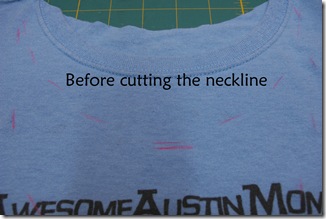
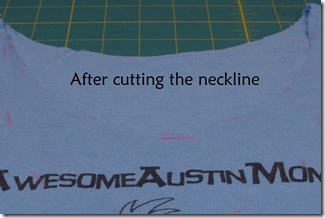
Great! The cutting is done! Stitch up your side seams using a 4 thread serge or if you don’t have a serger use a straight stitch 1/4” seam allowance and then zig zag the seam allowance. Now, TRY IT ON! Make sure it’s fitting like you want. If not, make minor adjustments by taking up more side seam until it fits perfectly.
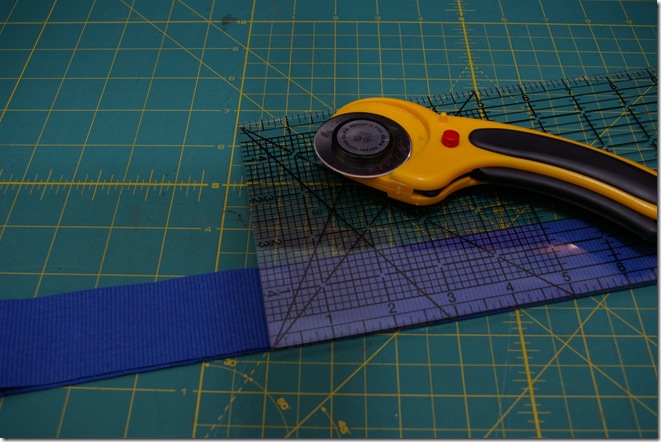
Next, break out your rotary cutter and mat (or a gauge and scissors) and cut 1 1/2” strips of contrast ribbing. The amount you need depends on the size of the neck and armholes, so cut as long a strip as you can so you don’t have to piece anything.
If you have a serger, serge one long edge of your ribbing pieces. This is just to bulk up the raw edge, and is not necessary since knit does not unravel. But it does keep it from stretching all crazy while you’re trying to topstitch it in place.
Pin the unserged edge of the ribbing to the tank neck or arm hole, right sides together, starting with the end of the strip at the under arm seam or center back neck (you will seam the ends together here, so they will be hidden). Stretch the ribbing just a little bit as you pin so it doesn’t ripple when finished.
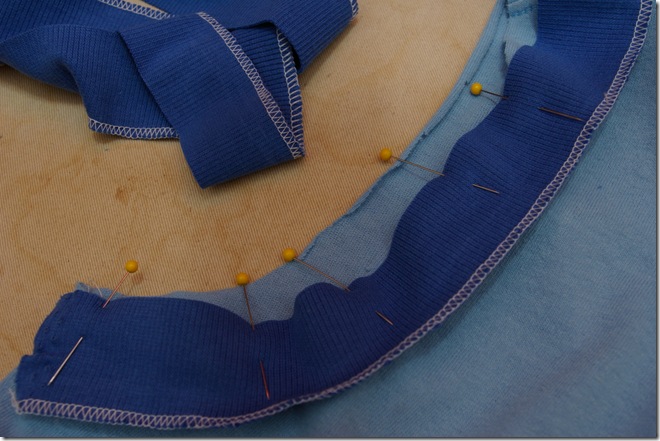
Start stitching, using a 1/2” seam allowance, at the under arm seam or center back neck, BUT start and stop about an inch from the seam or center back, so you have a bit of room to sew the two ends together.
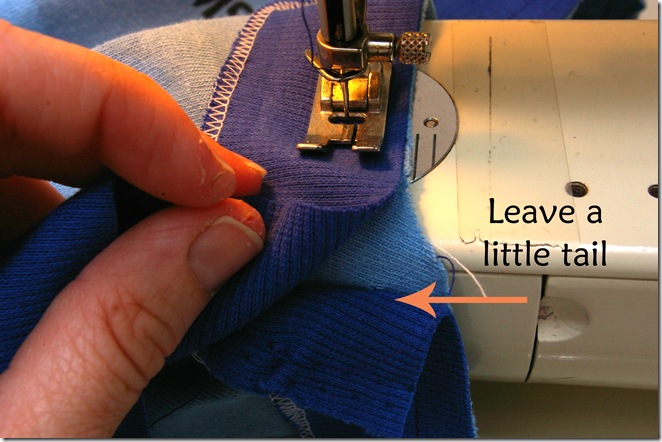
Take the shirt out of the sewing machine and line up the spot, where the ribbing will be seamed, with the under arm seam or center back neck. Place a pin where you want the seam to be and stitch those two ends together.
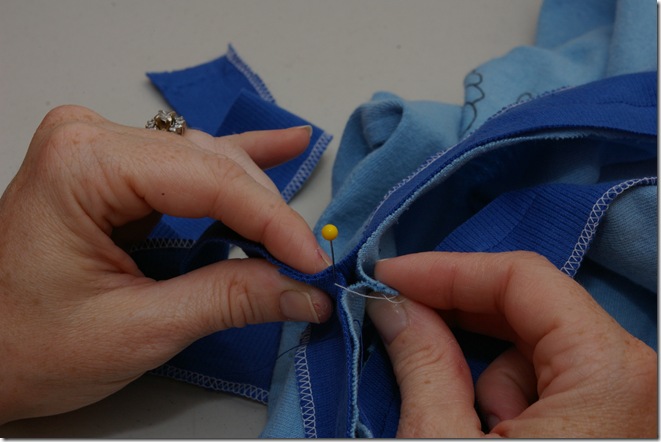
With the ribbing ends stitched together, open out the seam allowance and stitch the remaining bit onto the shirt.
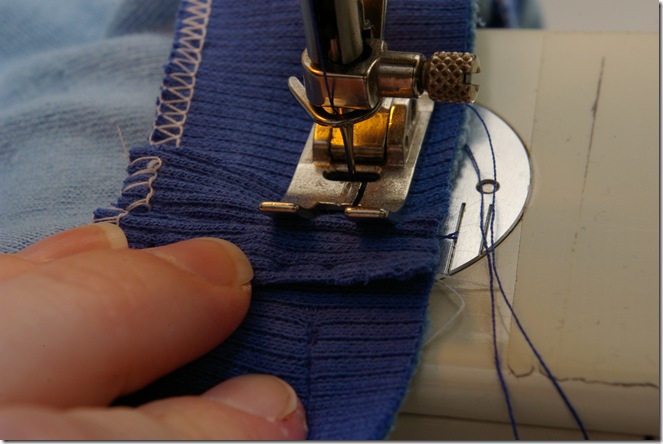
Now you have a band of ribbing stitched all the way around the hole. To remove excess fabric that will be contained within the binding, grade the seam allowance by trimming the ribbing layer a bit shorter than the shirt. This gets rid of bulk inside.
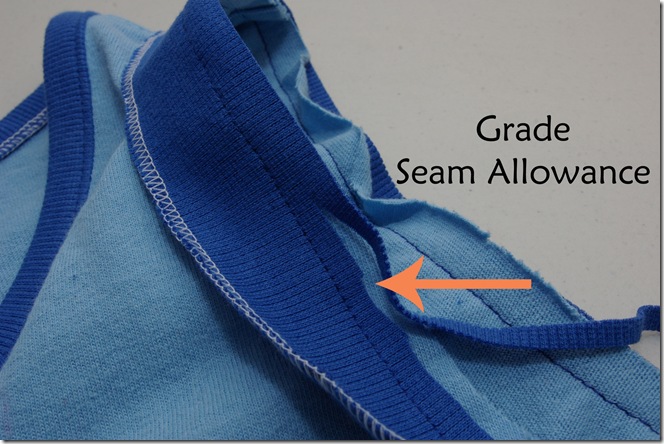
Head over to the ironing board. With the right side of the t-shirt out, press the ribbing over the seam allowance along the stitching line. Then, turn the shirt over so the wrong side is out and press 1/2” of ribbing over to the back side. The serged edge should line up with your stitching line.
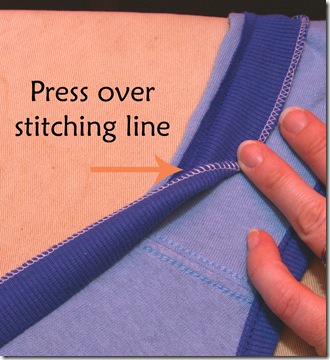
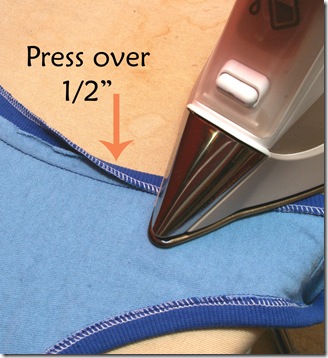
The final step is to topstitch your ribbing in place! Pin the ribbing in place and then stitch, from the right side, a scant 1/8” from the inside ribbing edge, making sure to check underneath that you are catching the ribbing beneath.
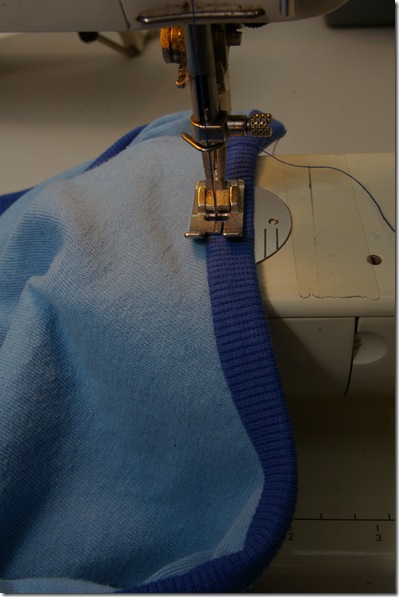
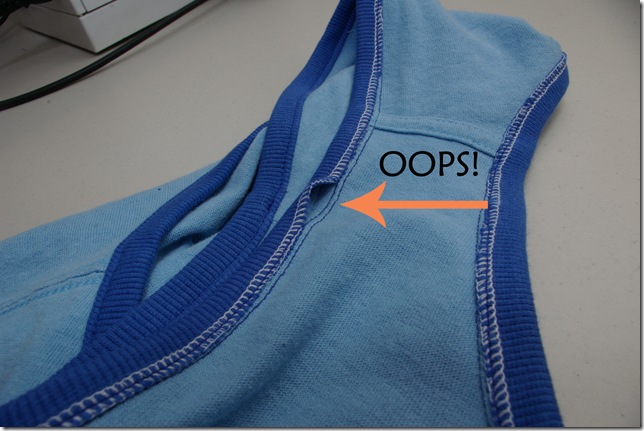
If you ironed and pinned precisely, you should catch it all. However, if you’re like me and just eyeballed it, throwing all caution to the wind, then you may have missed a spot or two. Easy fix, just rip out a bit around the spot you missed and resew (be sure to backstitch a few stitches at either end).
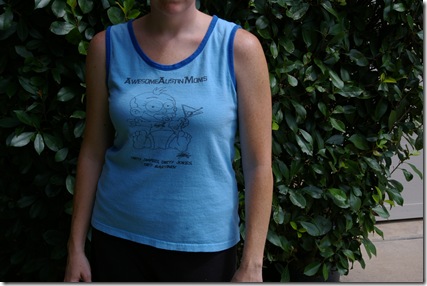
Ta-Da!
You now have a well-fitting tank top out of a shirt you probably never wore. Hooray!
Linking to:



Oh awesome.. I was eyeing that shirt the other day and almost asked you when we got tanks printed up! I'm going to have to use this tute for a really cute tshirt I got that is too big.
ReplyDelete